Node tags
Overview
Node tags allow you to quickly create discourse nodes from tagged lines in your notes. When you assign a tag to a node type, any line containing that tag becomes a clickable element that can be converted into a discourse node.
This feature streamlines your workflow by letting you mark potential discourse nodes with tags as you write, then easily convert them to full discourse nodes later.
Setting up node tags
Configuring tags in settings
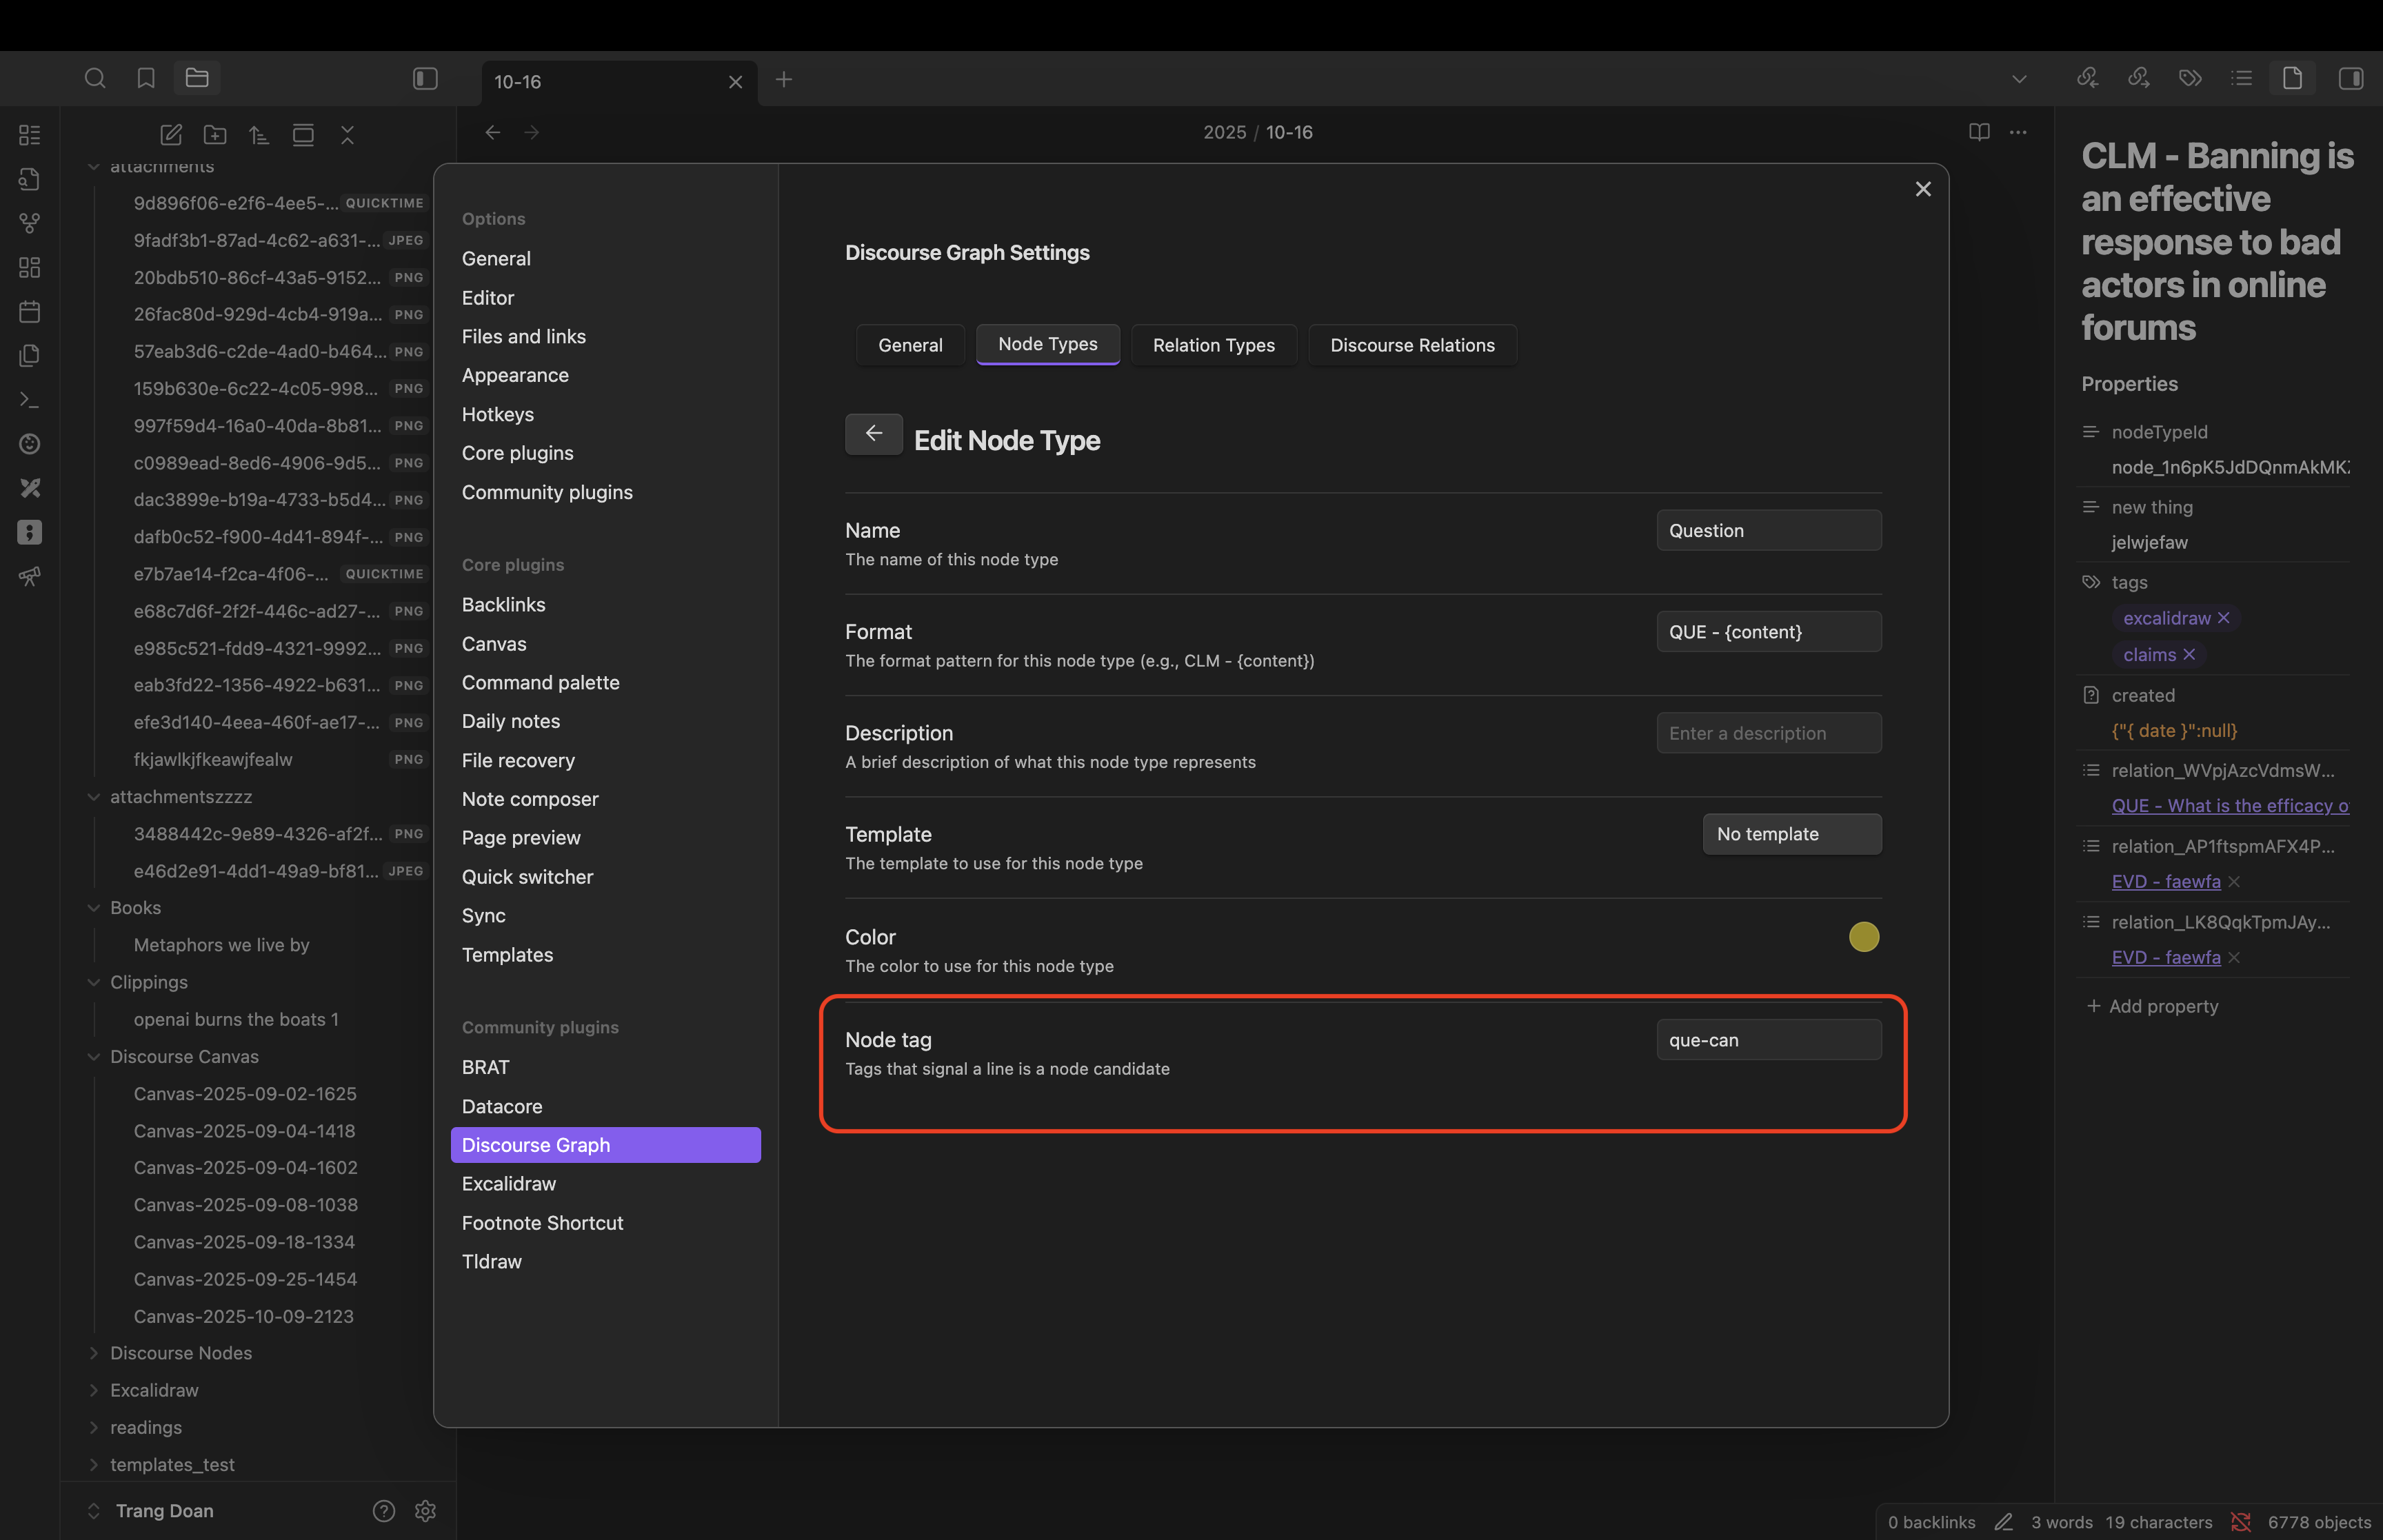
- Open the Discourse Graph settings
- Navigate to the Node Types section
- Select an existing node type or create a new one
- In the Node tag field, enter a tag identifier
Tag naming rules
Tags must follow these rules:
- No spaces: Tags cannot contain whitespace
- Allowed characters: Only letters (a-z, A-Z), numbers (0-9), and dashes (-)
- No special characters: Characters like #, @, /, , etc. are not allowed
- Case-sensitive: Tags are case-sensitive in the editor
Tag examples
Valid tags:
clm-candidatequestion-ideaevidence2024my-argument
Invalid tags:
clm candidate(contains space)#clm-candidate(contains #)clm/candidate(contains /)
Using node tags in your notes
Adding tags to your notes
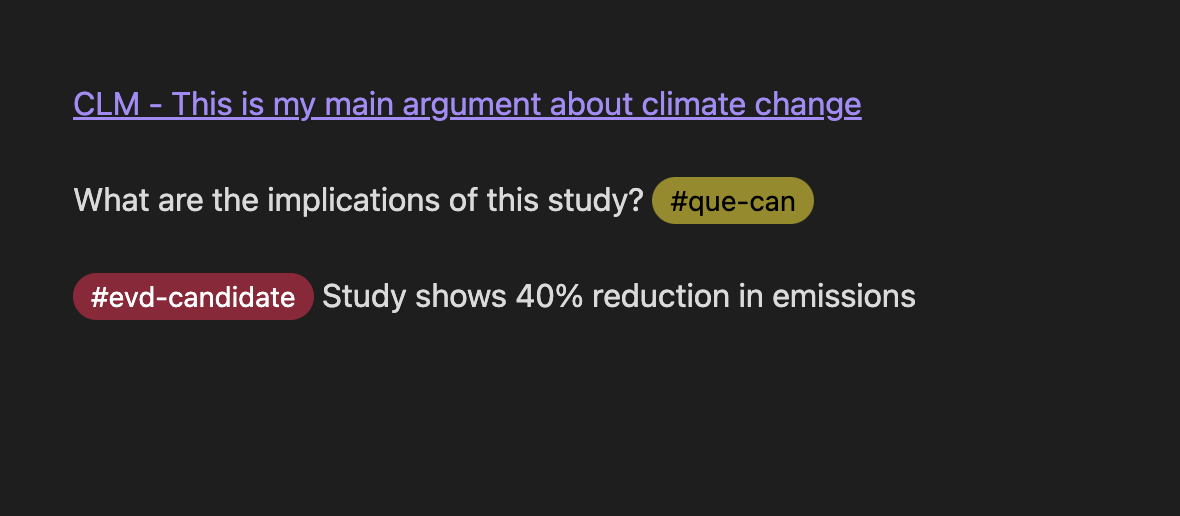
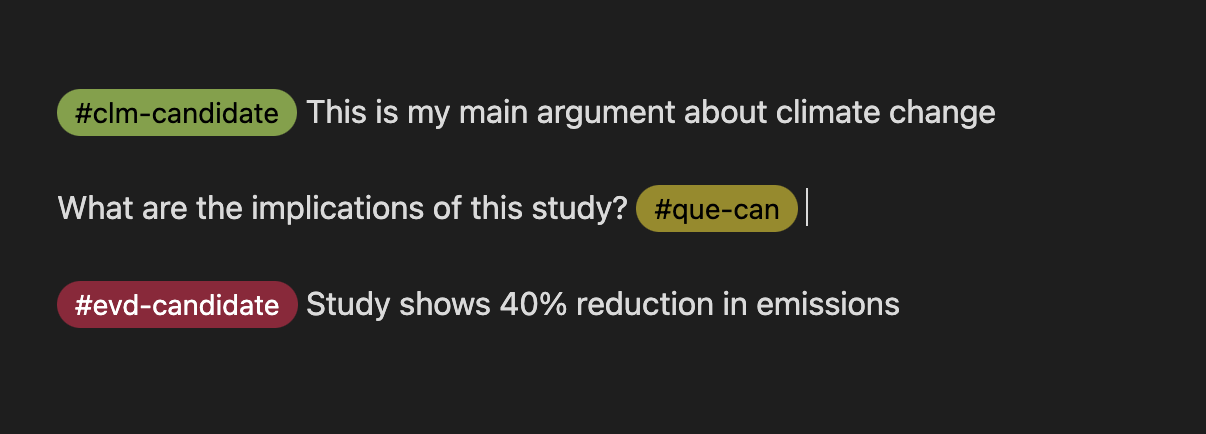
Once you've configured a node tag for a node type, simply add the tag (prefixed with #) to any line in your notes:
Creating discourse nodes from tags
When you hover over a tagged line, a button appears above the tag:
- Hover over the tag you want to convert
- Wait for the "Create [Node Type]" button to appear
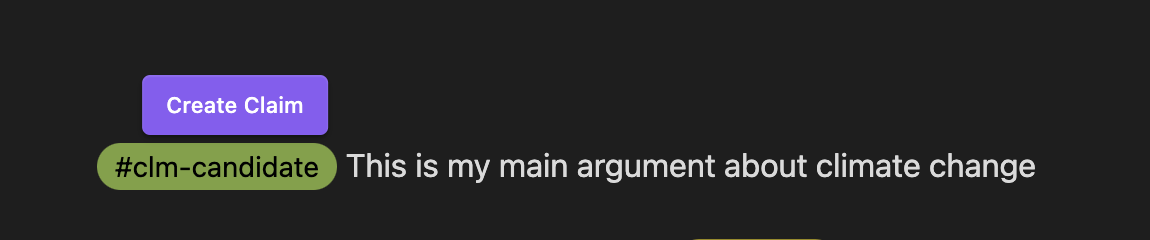
- Click the button to open the node creation dialog
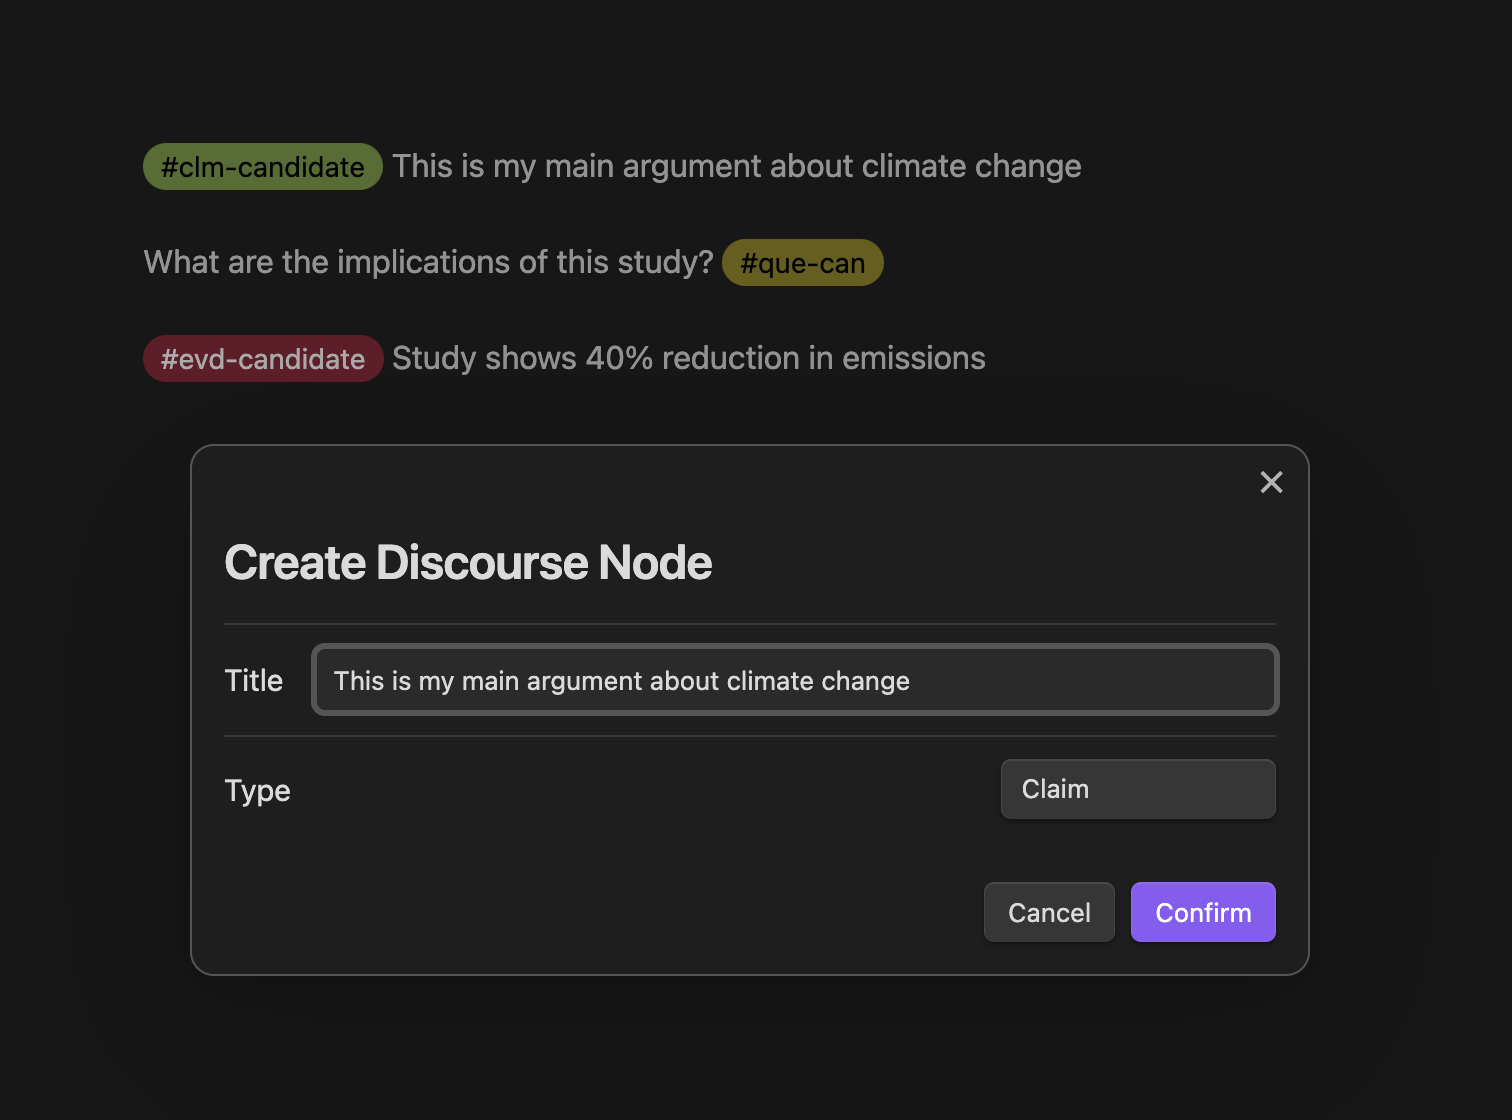
- Click "Confirm" to create node
You'll see that the candidate node is now replaced with a formalized node