Creating discourse nodes
Discourse nodes are Obsidian notes with Discourse Graph metadata (node type, relations, etc.). You can create them from selected text, from scratch, by converting an embedded image, by converting an existing note, from node tags, or from a canvas.
Create a discourse node from selected text
When you start from a selection, the plugin opens the Create discourse node modal pre-filled with the selected text.
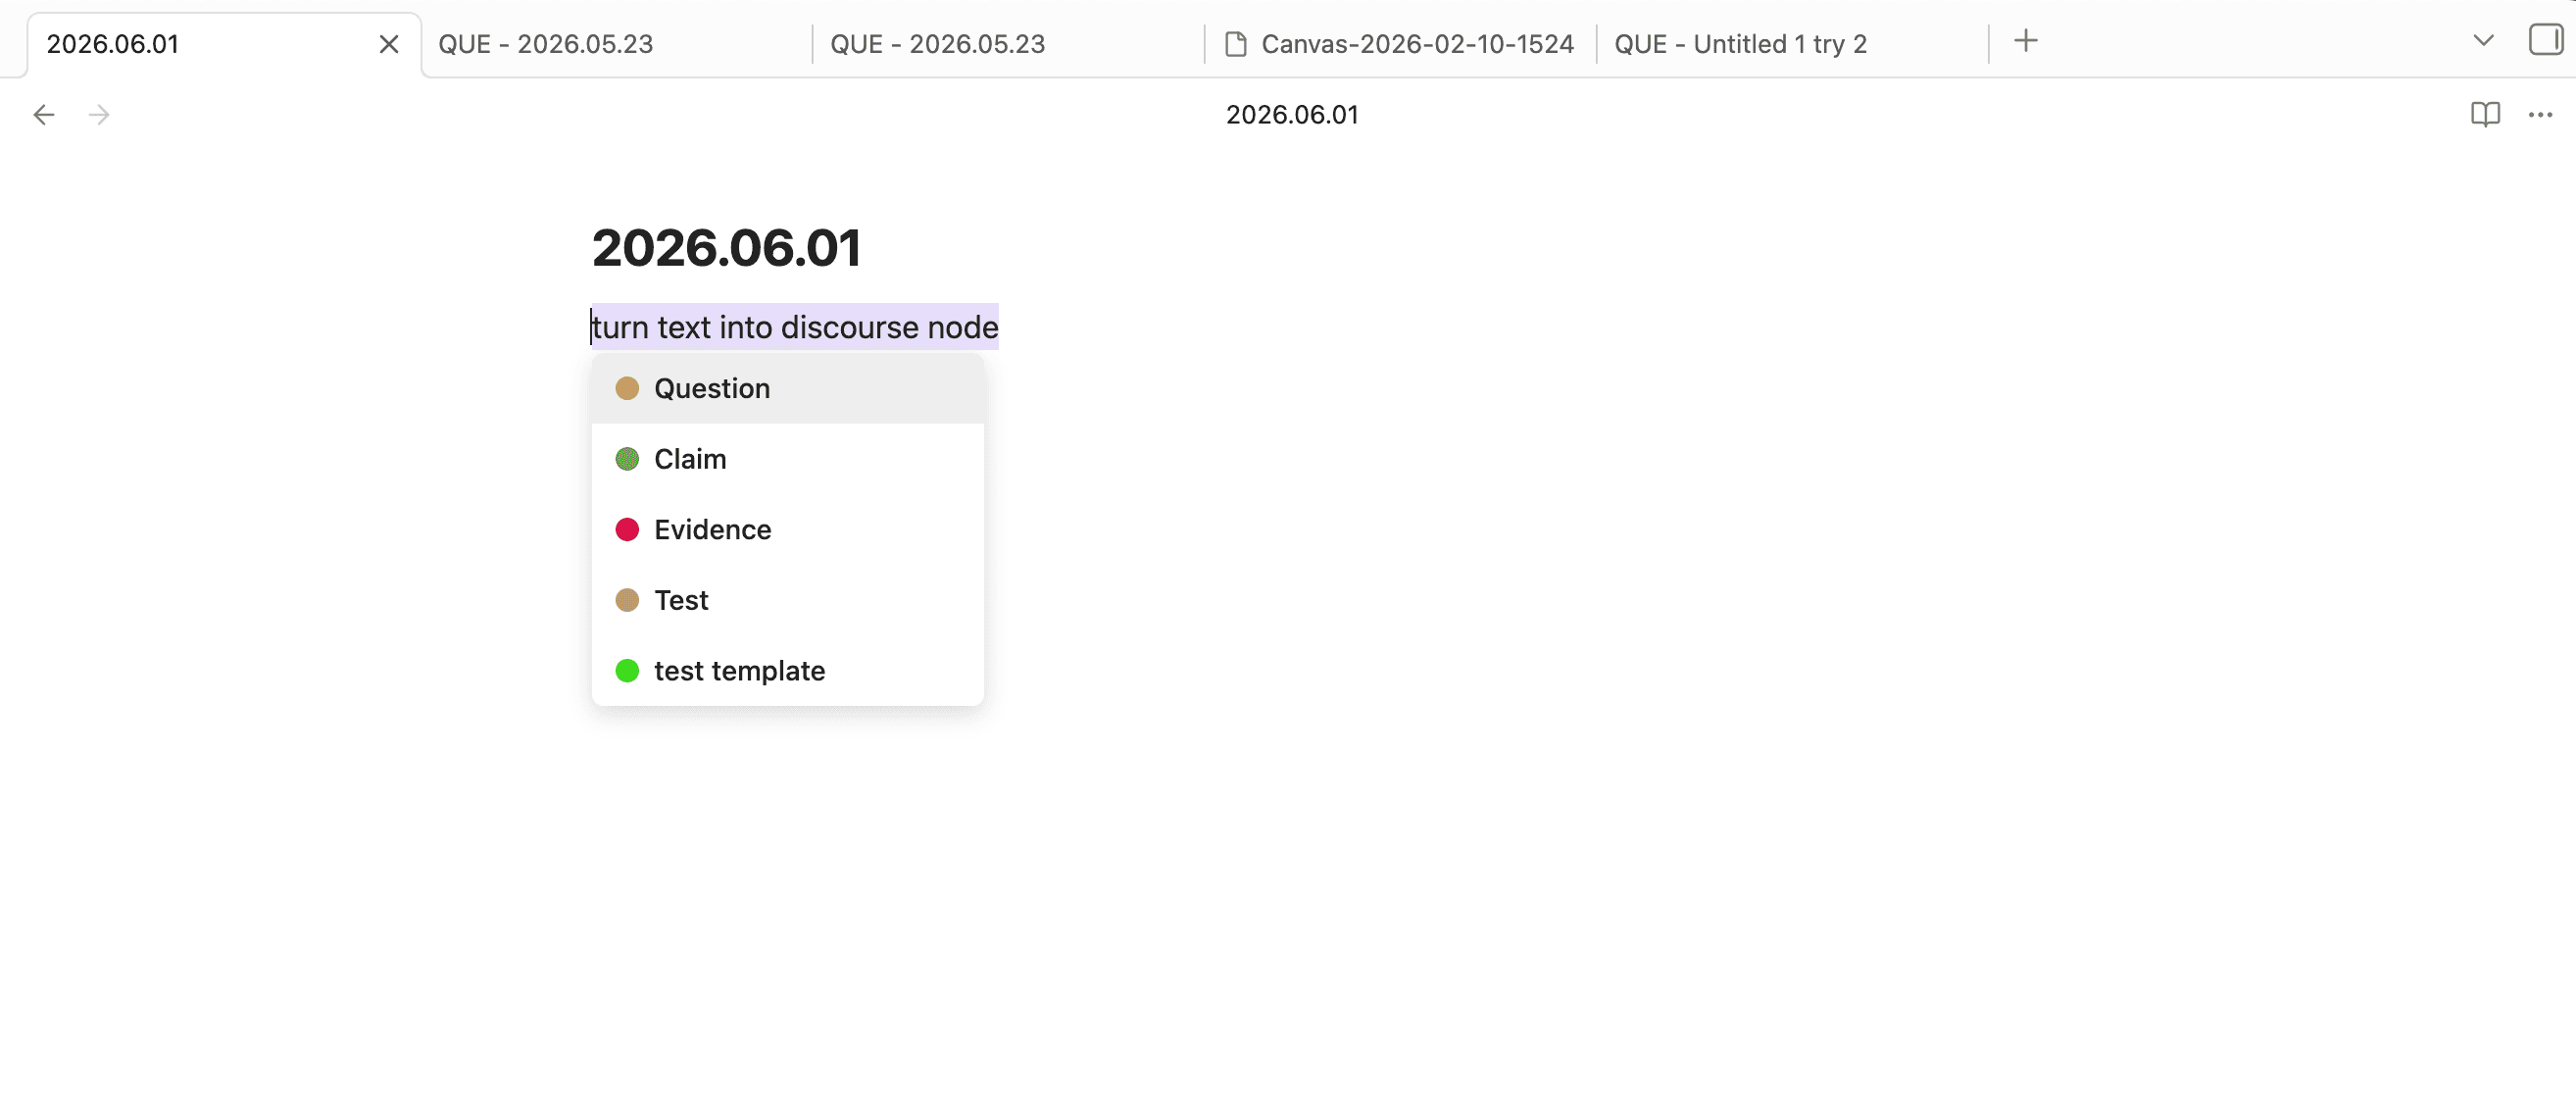
Option A: Hotkey (node type picker)
- Select text in your note
- Press your configured hotkey (default is
\) - Pick a node type in the popup
- Review and confirm in the Create discourse node modal
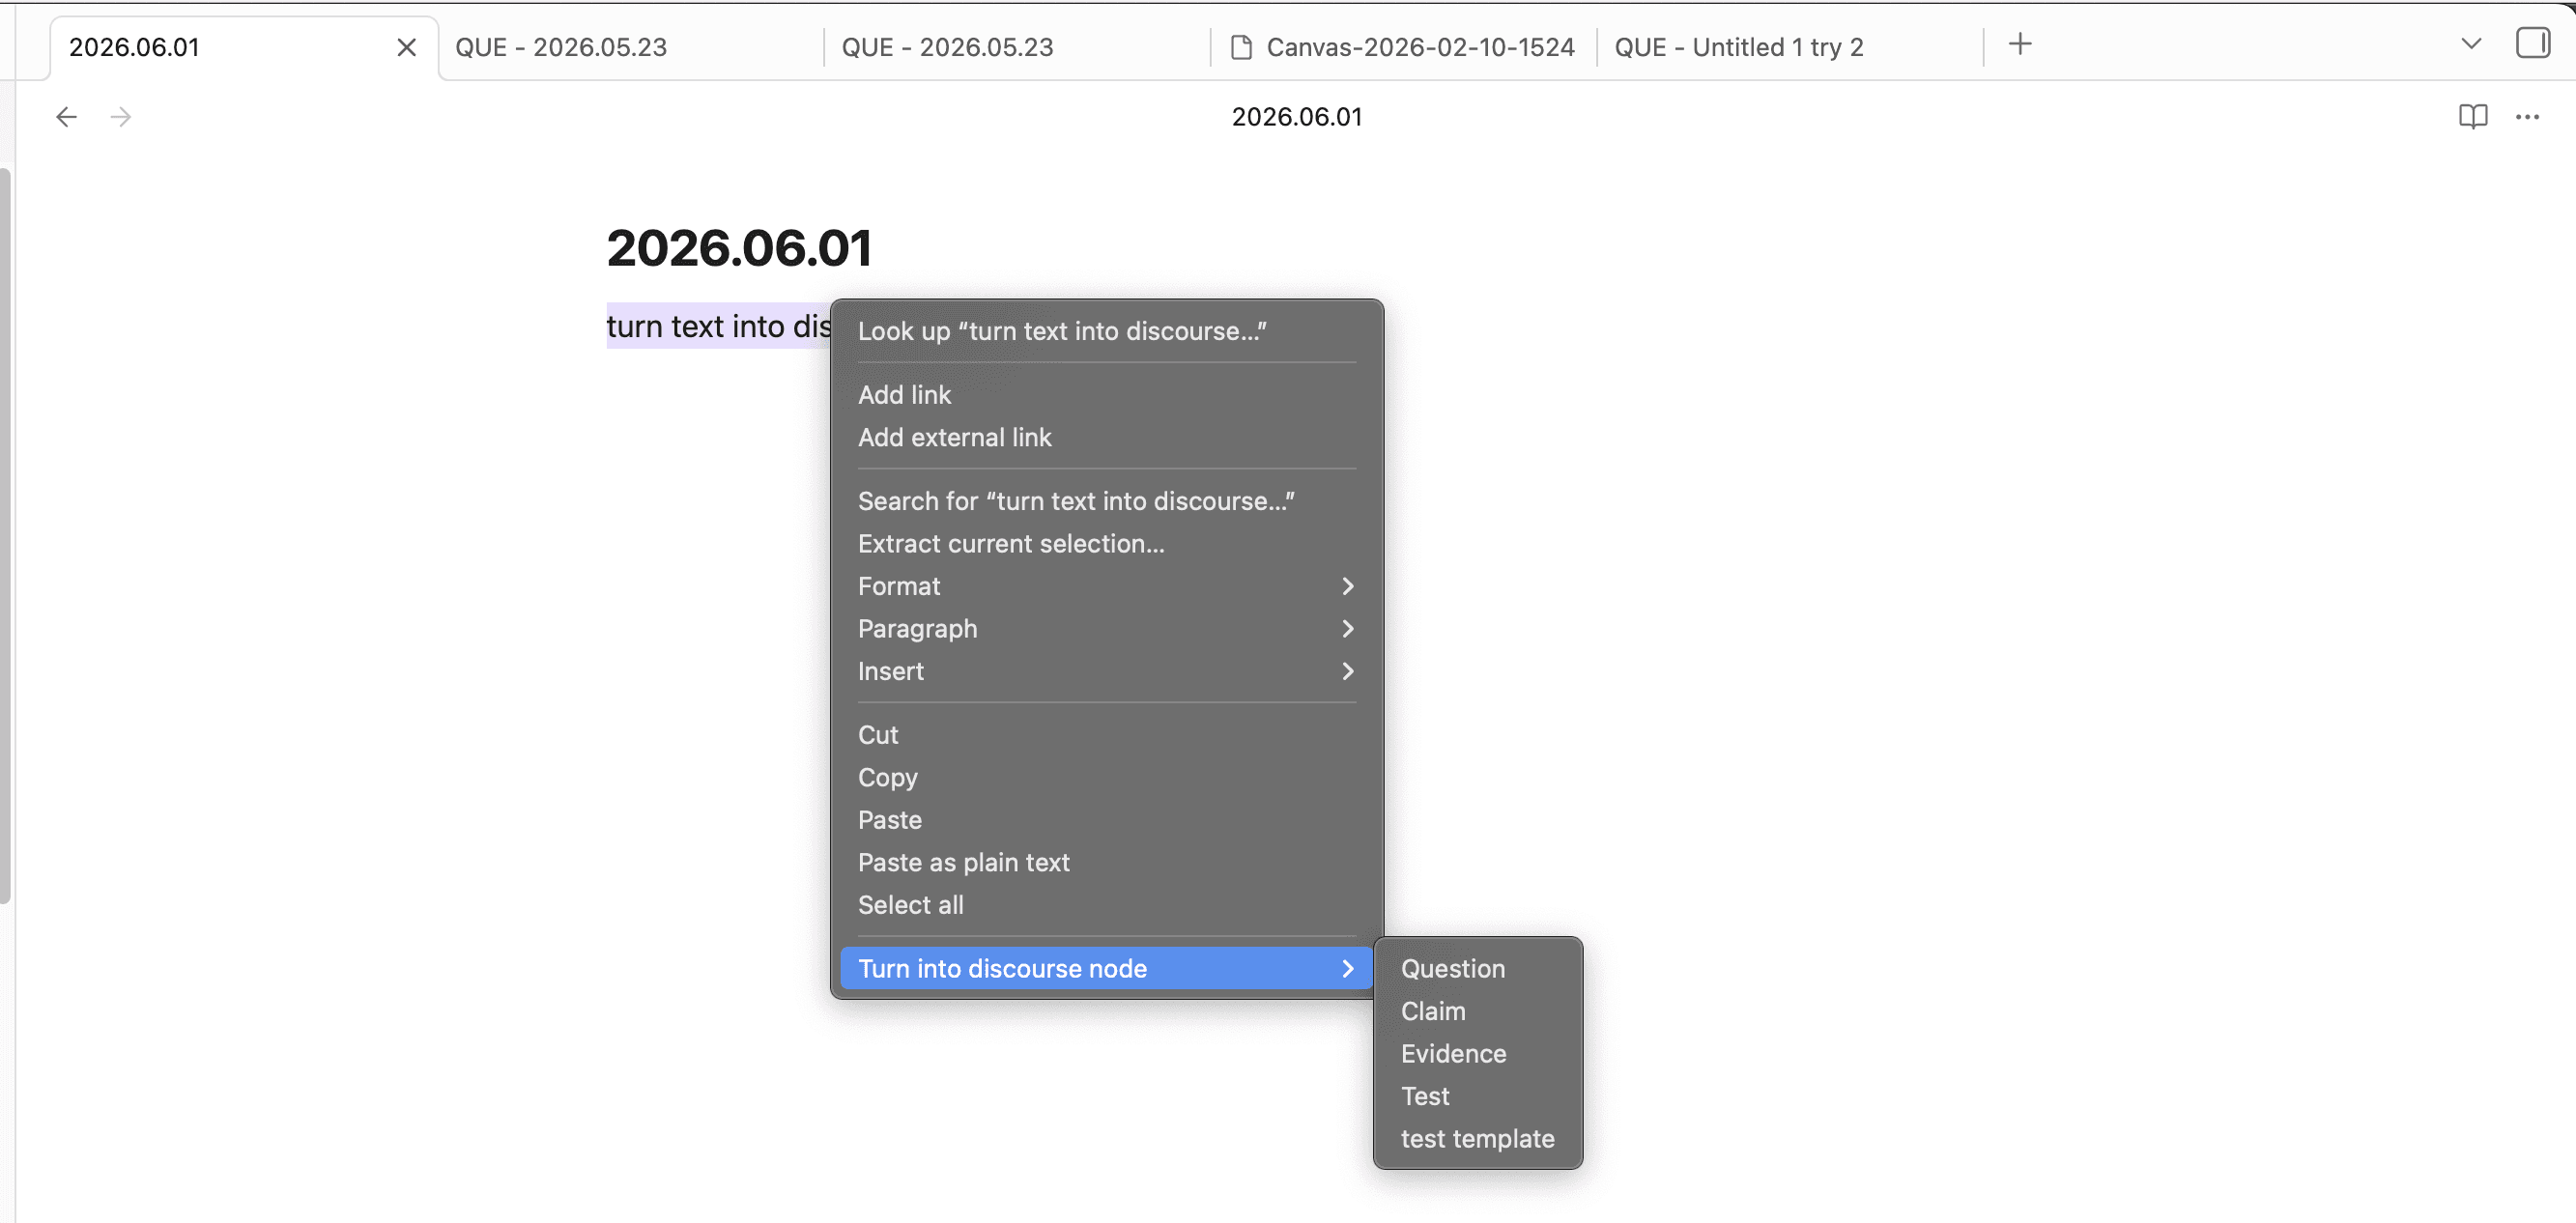
Option B: Right-click menu (“Turn into discourse node”)
- Select text in your note
- Right-click the selection
- Choose a node type under Turn into discourse node
- Review and confirm in the Create discourse node modal
Option C: Command palette (“Create discourse node”)
- Select text in your note (optional)
- Open the command palette
- Run Create discourse node
- Review and confirm in the Create discourse node modal
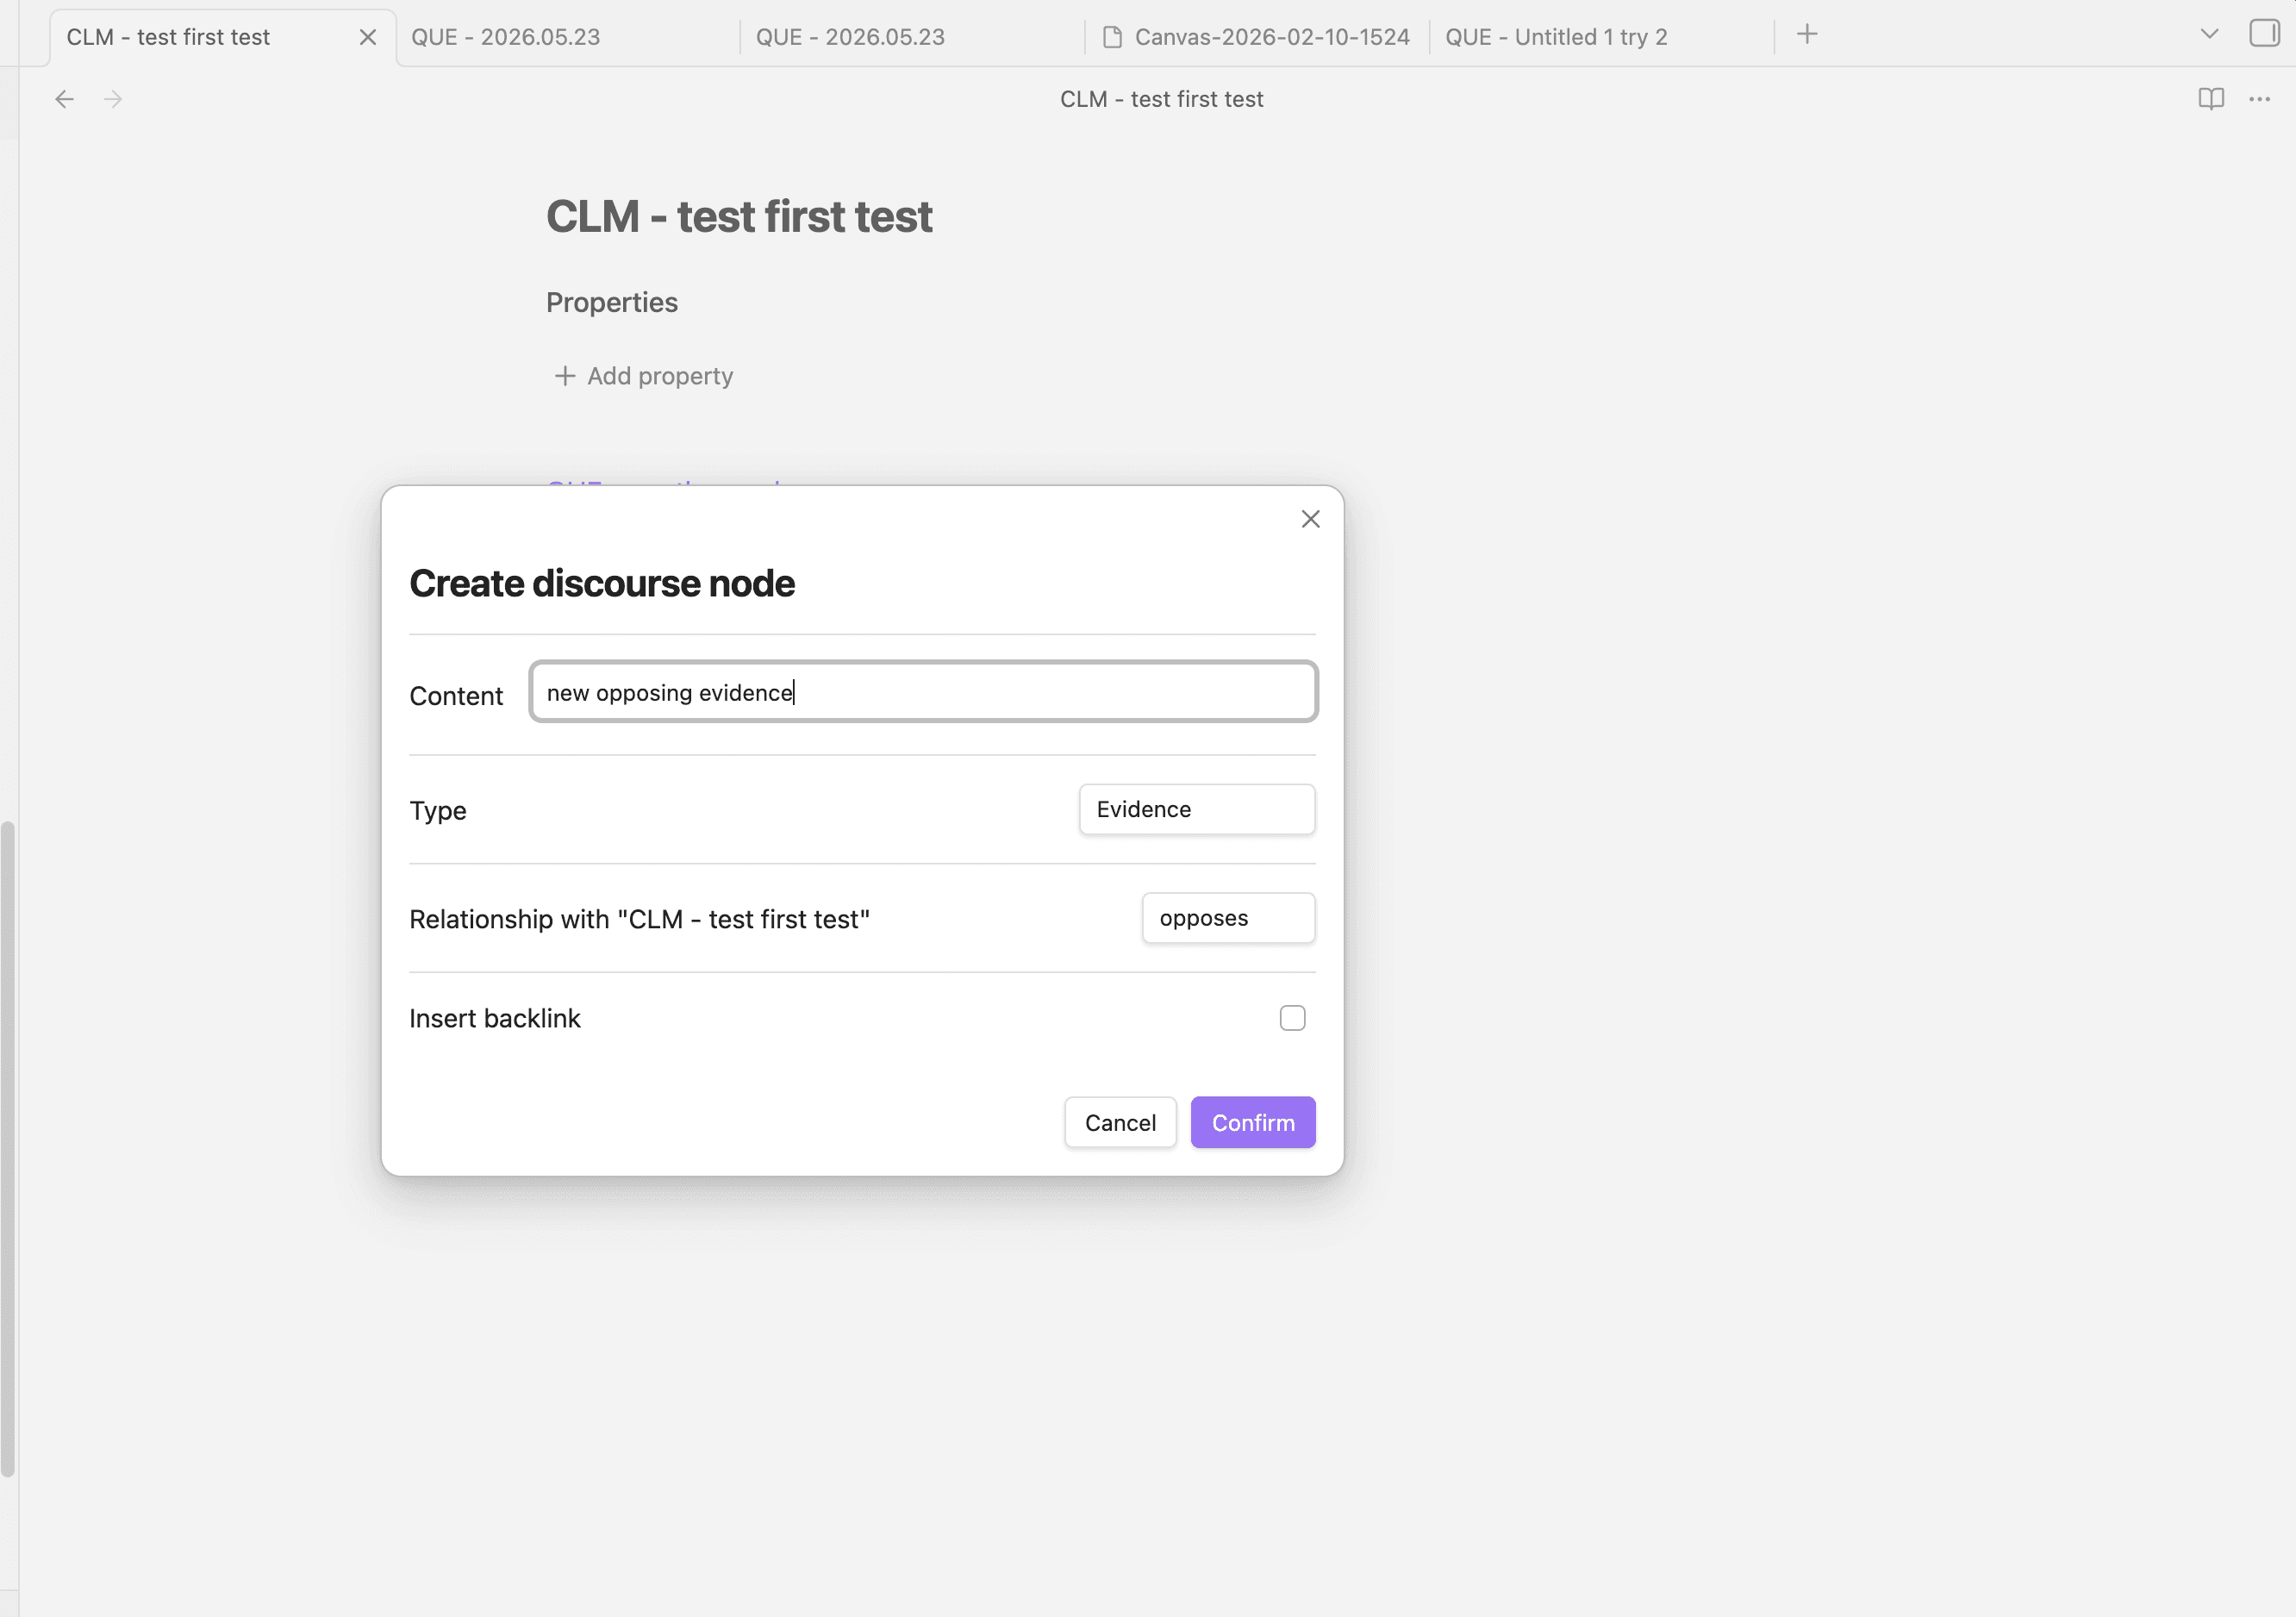
- Content field: Auto-resizes as you type and enforces Obsidian’s filename byte limit.
- Type field: In create mode, you can change the node type until you confirm.
- Search existing nodes: In most create flows, typing shows matching existing
nodes; selecting one inserts it instead of creating a new file.
- The file explorer Convert into flow disables this search.
- Relationship with “…” (optional): If you start from a note that is itself a discourse node, you can relate the new node to it. See Relate a new node to the note you created it from.
- Insert backlink (optional): In create mode, you can choose whether the plugin inserts a backlink in the current note when you confirm.
Convert an embedded image into a discourse node
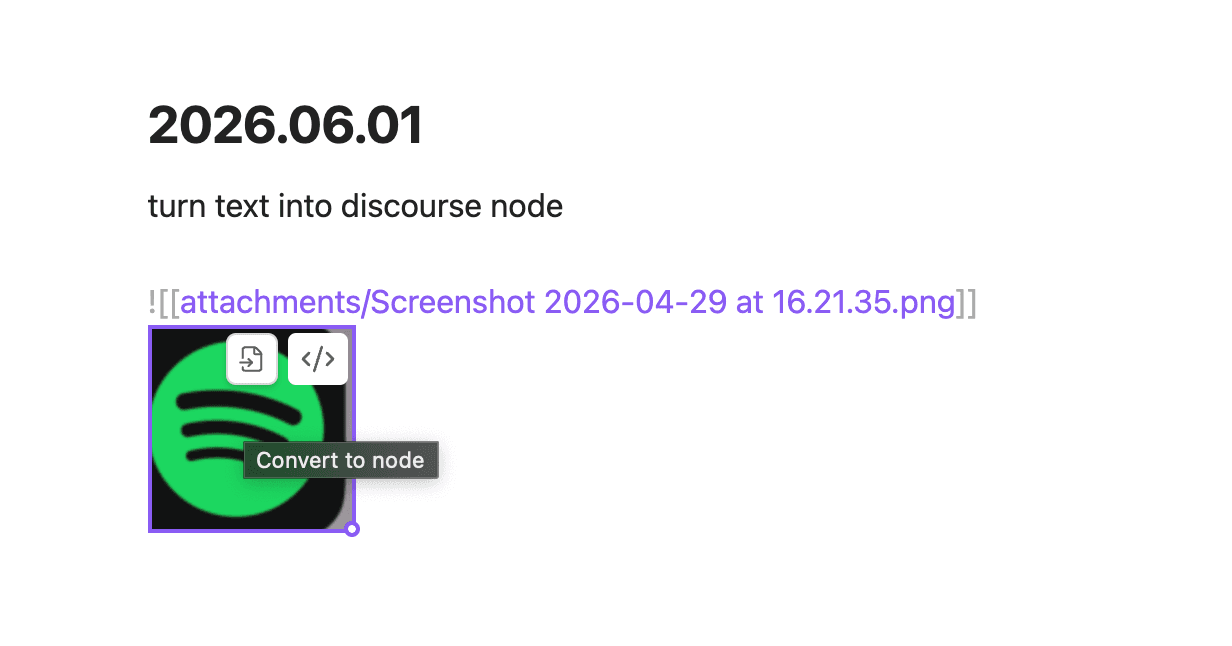
For images embedded in a note (for example ![[photo.png]]):
- Open the note in Live Preview or Reading view
- Click the embedded image (the Convert to node button appears on the embed, similar to Obsidian’s edit-block control)
- Click Convert to node
- In the Create discourse node modal, choose a node type, enter a title, and click Confirm
The plugin creates the discourse node, adds the image to that node’s note, and replaces the embed in your current note with a link to the new node.
Convert an existing page into a discourse node
If a page is not already a discourse node, you can convert it.
- In the file explorer, right-click a note
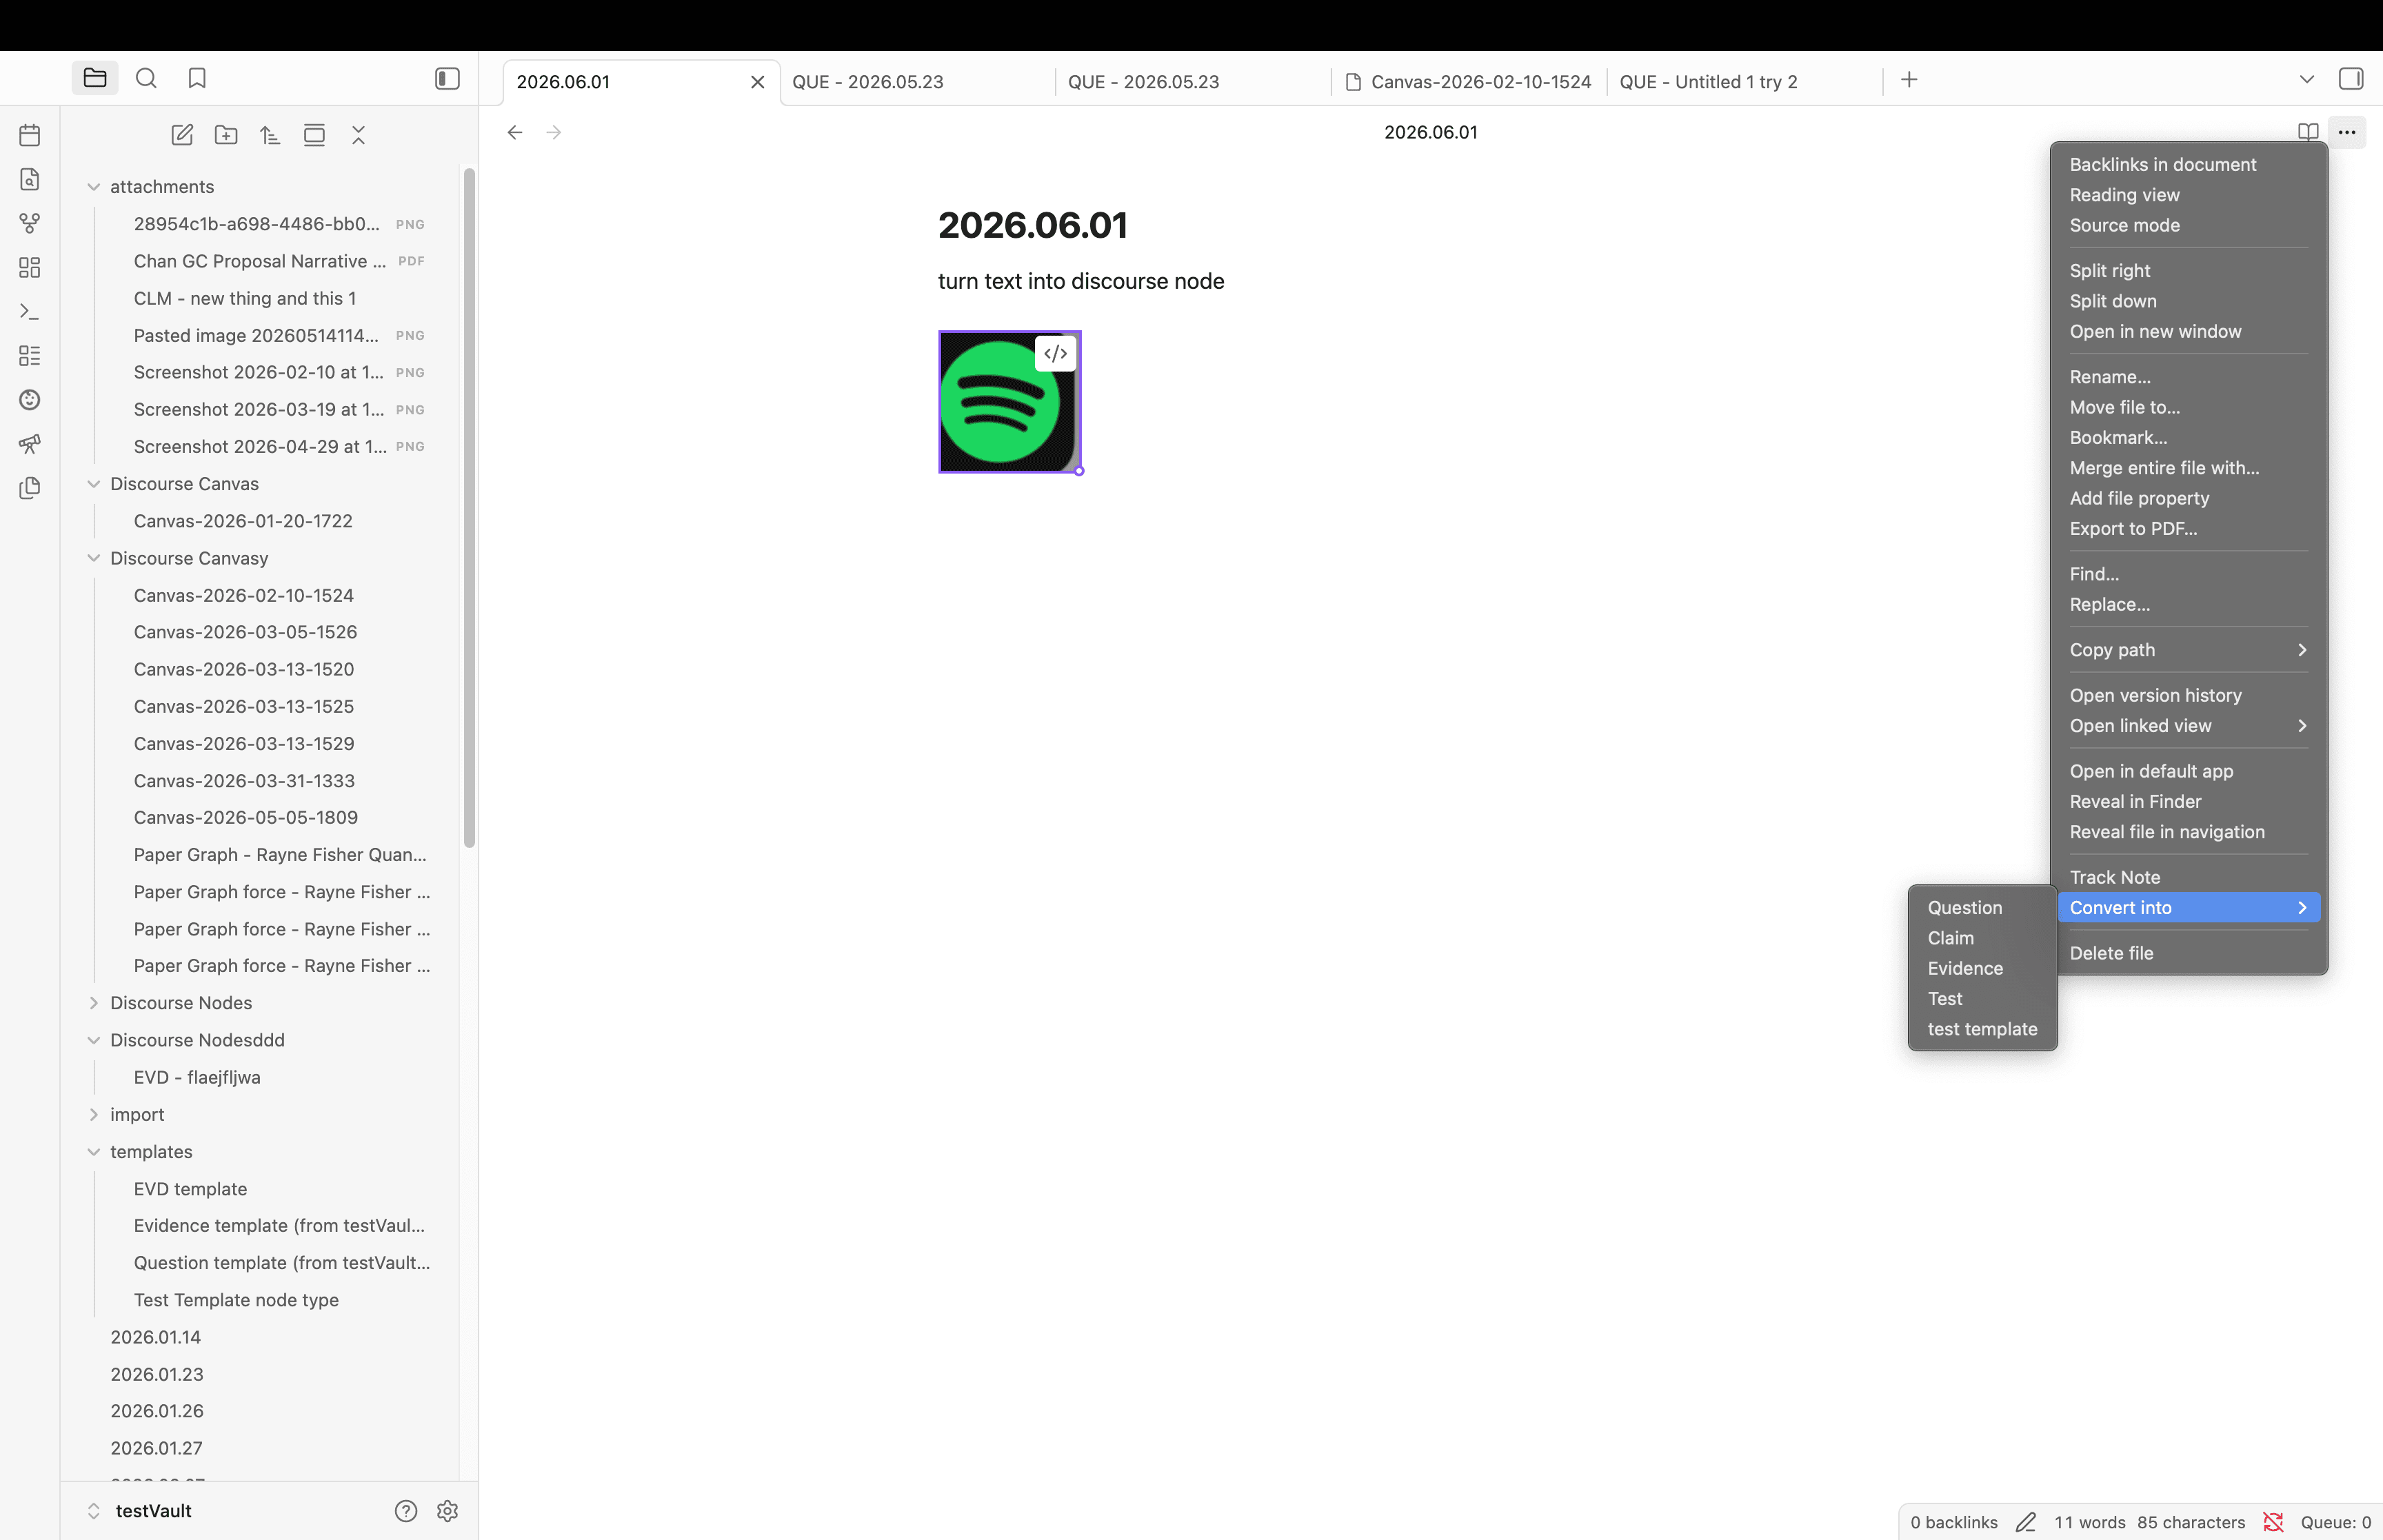
- Choose Convert into, then pick a node type
- Review and confirm in the Modify discourse node modal
Note: In this flow, the modal is create-only (it does not offer “search existing nodes”) because the intent is to convert the current file into a new discourse node.
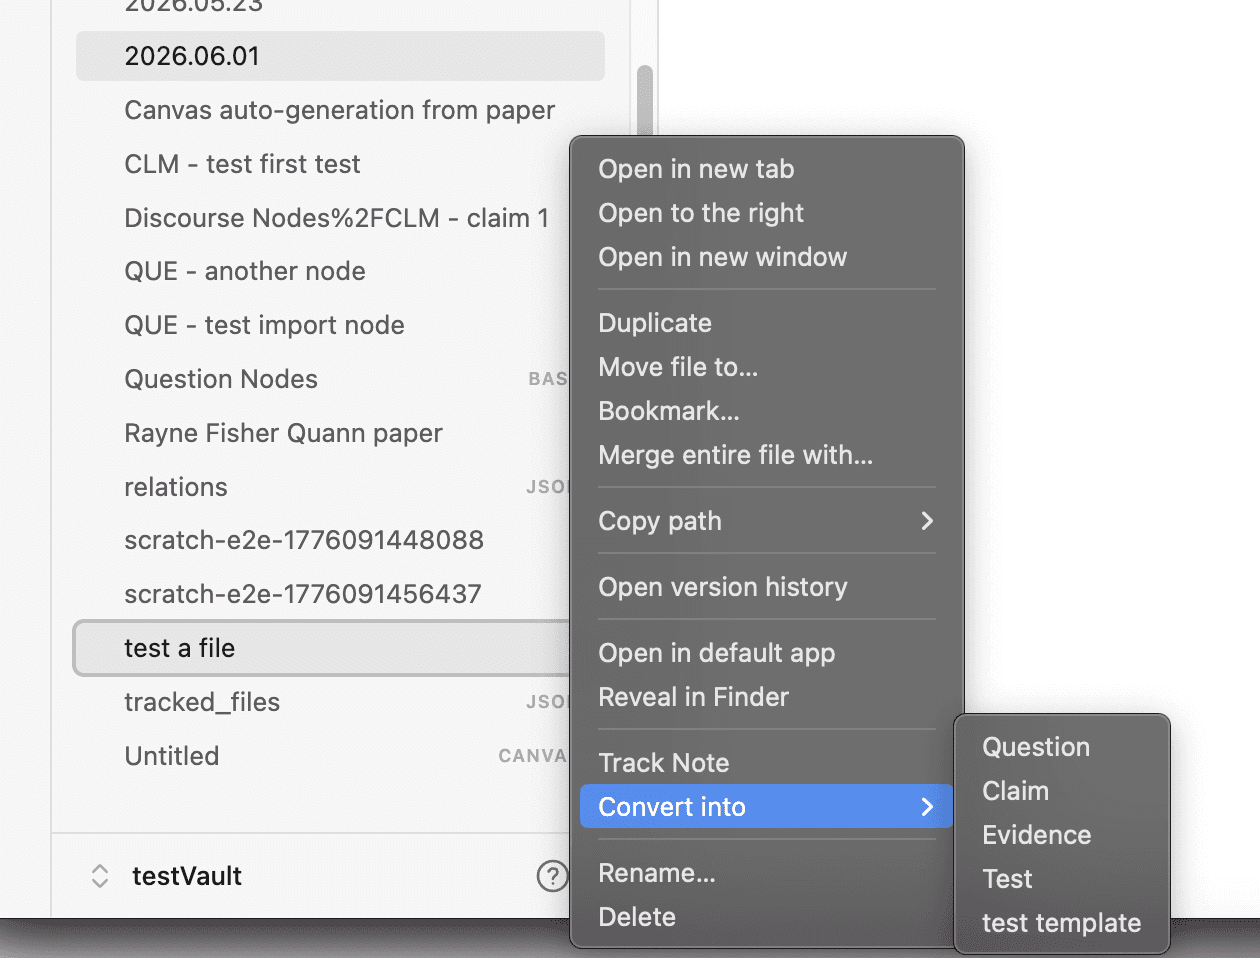
You can perform the same function from the file menu
To convert many notes at once, see Bulk identify discourse nodes.
Create nodes from node tags
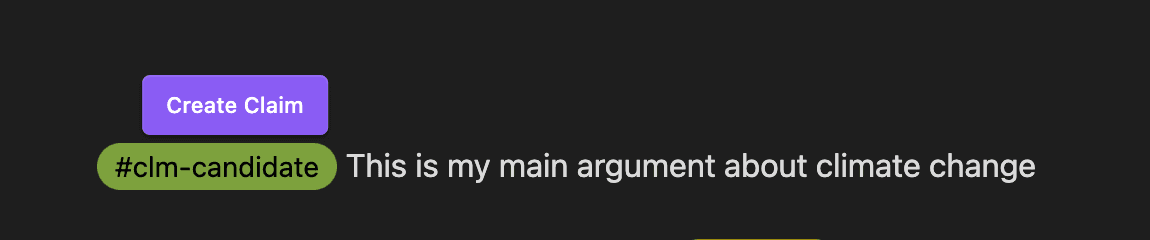
If you use node tags, you can hover a tag and click Create [Node type] to open the modal.
Create nodes from a canvas
On a Discourse Graph canvas, creating a node opens the same modal, and then adds the node as a new canvas shape.
More detailed instruction here
Relate a new node to the note you created it from
When you create a node from a note that is already a discourse node, the Create discourse node modal adds a Relationship with “…” dropdown. It is pre-filled with a relationship between the two node types, so you can create the node and the relationship in one step — but nothing is saved until you confirm, and you can pick No relation if you only want the node.
For example, with the base grammar, Evidence is derived from Source, so turning a selection inside a SRC note into an EVD node offers that relationship by default.
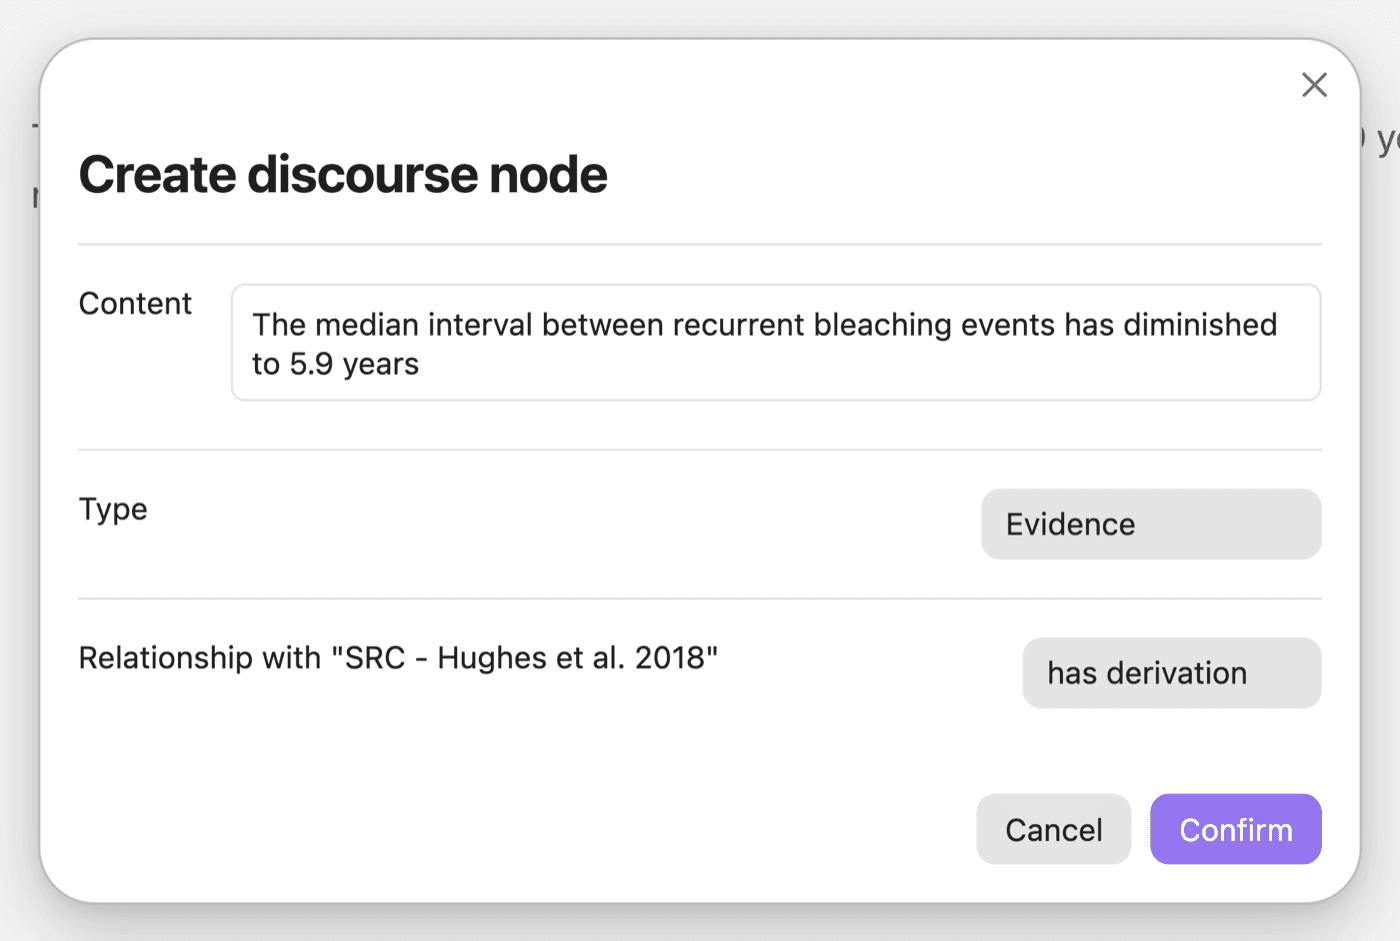
- The dropdown lists the relationships you have defined between the two node types and pre-selects the first. Change it if more than one applies.
- It also applies when you pick an existing node from the modal’s search instead of creating one.
- It does not appear if the current note is not a discourse node, or if no relationship connects the two node types.
Node templates
When creating a node, if you’ve configured a template for that node type, the template content will be automatically applied to the new node.
The new node will be saved in the designated folder that you created in the General settings.
Related
After creating nodes: